St. Patrick’s Day: Handprint Leprechaun Tutorial
Pin It
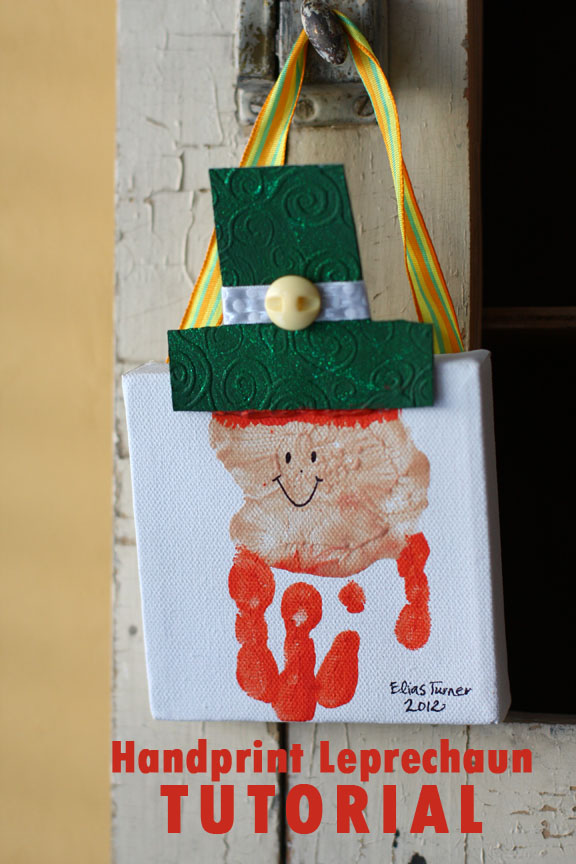
Since becoming a Pinterest addict, I have become obsessed with kids’ handprint art. I just love how they are always fun, easy art projects to do with Elias AND they always turn out so cute. When I saw this leprechaun on Pinterest, I knew I had to enhance it into a keepsake that would last for years.
Supplies needed:
- Small canvas (mine was 4×4 and I got it at an art supply store for about $3)
- Acrylic paint (found at any craft store – I mixed colors to get the flesh color and orange beard since my stash didn’t have exactly what I wanted. I am all for using what you have
- Foam brush
- Chipboard or Tim Holtz Grungeboard for the hat
- 1 button
- 3 inches of thin ribbon for the hat
- 8 inches of 3/4″ ribbon for hanging the canvas
- Hot glue
- Thin sharpie
Steps (It looks like a lot, but I promise the whole project is super fast and easy!)
- Before painting your child’s hand, be sure their handprint will fit on the canvas. Elias’s 3-year-old hand was exactly as big as the 4″ canvas I used.
- Mix/pour your paint
- Paint the palm of the hand with flesh colored paint and your child’s fingers with the reddish-orange paint. Don’t paint the thumb. I like using foam brushes for even paint distribution, but any brush will work.
- Push your child’s hand flat on the canvas. If you get a big white spot in the middle of the face, fill it in with a little extra paint.
- Add on some hair at the top of the handprint using the brush
- Wait for the paint to dry. This was the hardest part for me. Elias had moved on, but I was so excited to add that face!
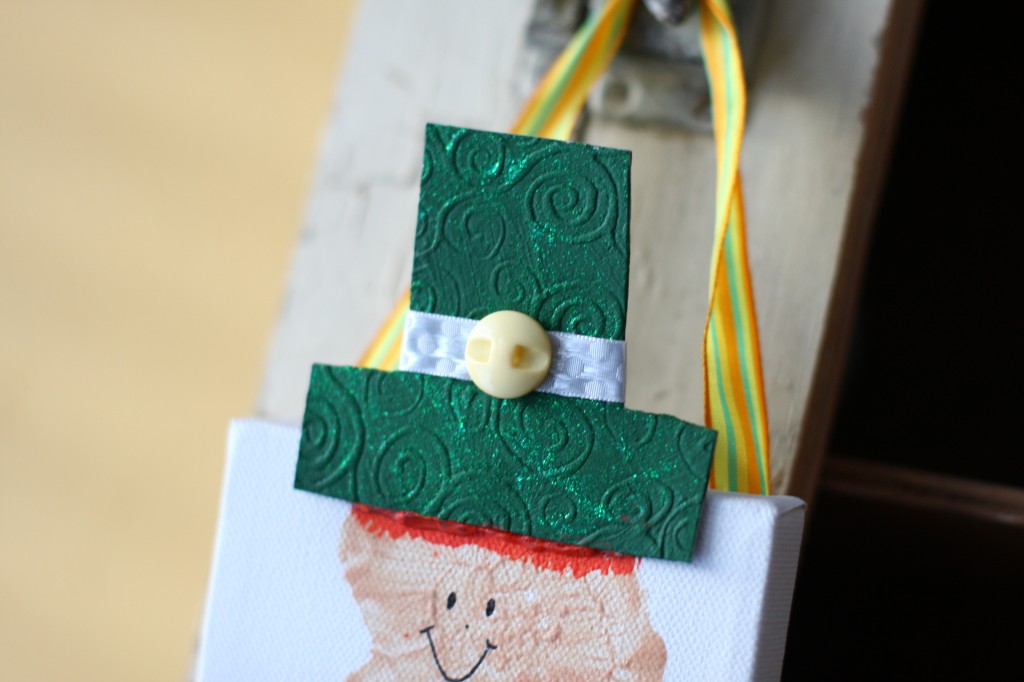
- While waiting for the paint on the canvas to dry, cut out the hat out of a sturdy material. I used Tim Holtz Grungeboard because I had a ton in my scrapbooking stash. You could totally use plain chipboard or even foam.
- Let your child paint the hat. We got crazy and used some glitter too. 🙂
- Let the hat dry.
- Once the hat is dry, glue a small piece of ribbon and button to the hat. I used hot glue, so Elias just watched and affirmed that he liked the button. 🙂 If you use chipboard, Elmer’s glue would work and your child could glue the ribbon. You probably would want to use a glue dot or hot glue for the button.
- Glue the hat to the edge of the canvas. You can see my paint was not totally dry, so you can kind of see the glue/paint along the hat, but I was fine with that.
- Glue your long piece of ribbon to the back so you can hang the canvas.
- Use a sharpie to draw a cute face.
- Write your child’s name and the year in the lower right corner.
- Hang the canvas for all to see.
Happy crafting!


One Comment