Project Life Tuesday
I started Project Life Tuesday in 2010 because:
- I needed to keep myself accountable and on top of my photos each week.
- My family loved being able to count on a weekly post with pics of the kids.
- I thought others might want to keep themselves accountable too.
It was a huge blessing and so I am excited to be kicking off my third year of this series.
Each Tuesday, I will share my spread from the previous week, as well as host a linky for readers to link up their pictures/layouts. This year, Epson is sponsoring Project Life Tuesday, and they provided me with their Epson Stylus R2880 Large Format Photo Printer (C11CA16201) for many of my album’s photos. Printing photos at home is keeping me on track!
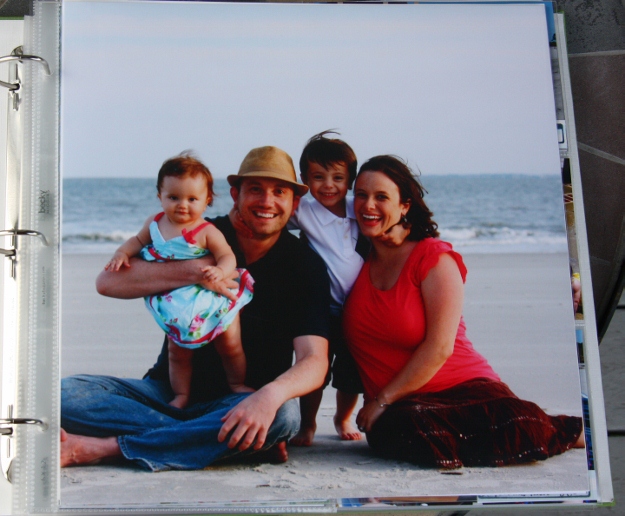
For week 20, I decided to start a new album. It was the first full week of May and I loved the idea of starting with our beach vacation. For the cover page, I printed my favorite family picture from the trip to 12×12. I have never printed a 12×12 photo and man, I love it! I decided not to put a title on it for the time being.
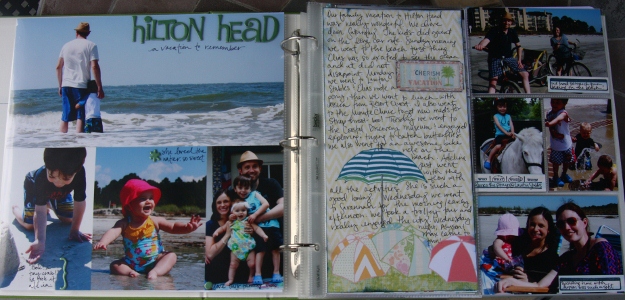
For the week itself, I had a 12×12 page, a 6×12 page, a 6×12 with 6×4 pockets and a Design A.
Instead of using the colbalt kit elements, I was really excited to use the brand new Webster’s Pages Palm Beach collection. The kind folks at Webster’s sent it to me before we left for Hilton Head and I must say, it is some of the prettiest beach/vacation paper I have ever seen. It was sitting on the table and Matthew picked it up and said, “wow, this is really pretty.” Yes, yes it is. 🙂
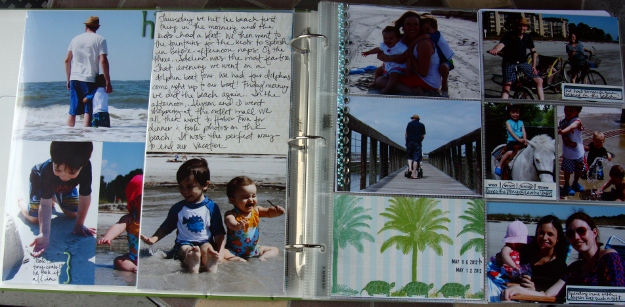
Here is spread one.
Since I had the 12×12 page protector, I created a 12×12 collage using a few of my favorite photos from the week. I then added thickers to spell out Hilton Head on the top, as well as for small embellishments next to each of the journaling words. I wrote directly on the photo using a sharpie.
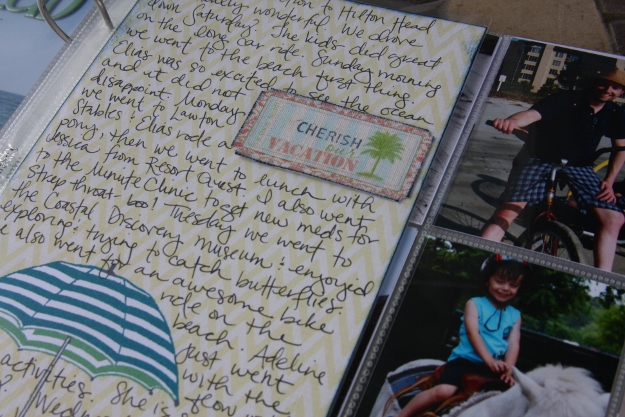
I then created a 6×12 jouranaling panel using the Webster’s Pages Palm Beach collection. I wrote about what we did each day on the panels. I inked the sides of the paper using the edge of a stamp pad, and I stamped “cherish” on the vacation tag that came with the beach kit.
On the bottom of the back of the panel, I added a 6×6 photo of the kids.
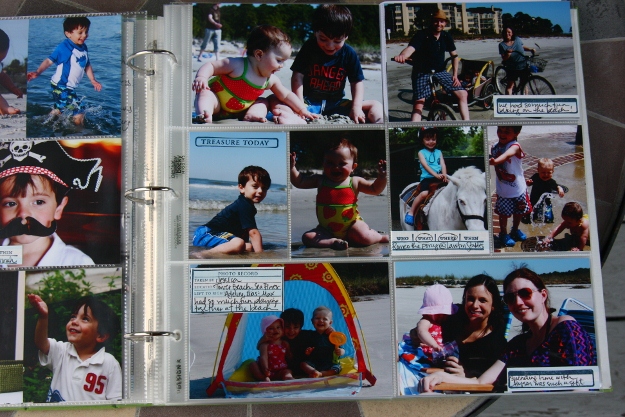
I used another 6×12 insert, this time with slots for 6×4 photos, to showcase more photos from the week. I trimmed another piece of paper from the Webster’s Pages Palm Beach collection to make my date card for the week. I love the turtles! I simply added the dates to the bottom of the card, just like I have on all the colbalt cards in my album to date. I also used the jewel stickers from the Palm Beach kit.
Then I just went crazy with the stamps.
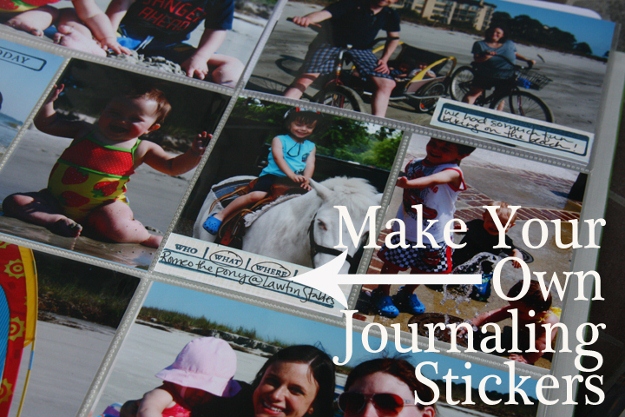
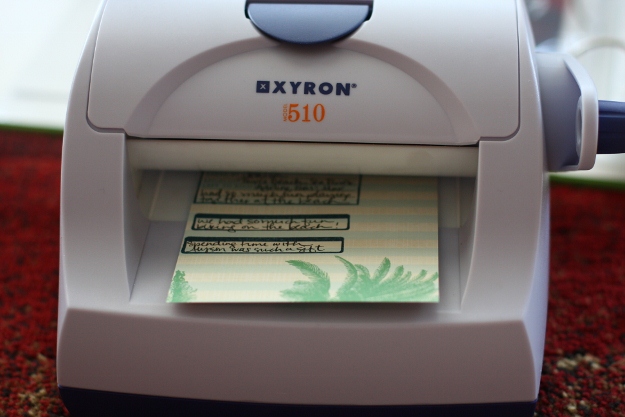
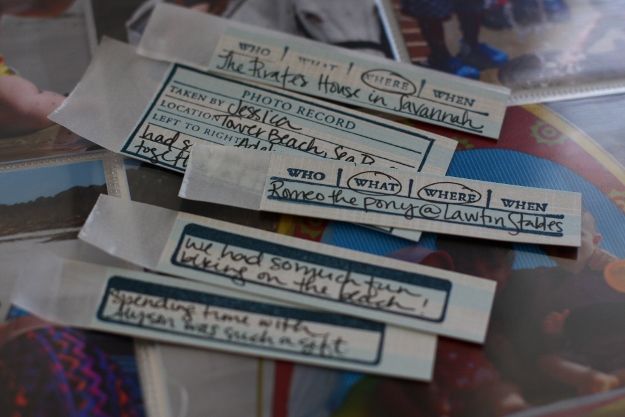
I wanted everything to be very unified, so I got out a few journaling stamps and stamped them on a scrap piece of paper from the collection. I then wrote my words on the spots, ensuring everything fit.
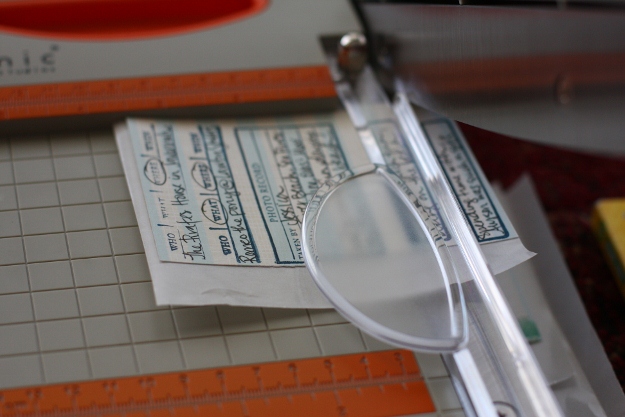
Rather than cutting each spot and using a glue stick on them, I ran the whole card through my Xyron 5″ creative machine. This put adhesive on the whole thing, turning it into one big sticker. This machine is one of my favorite tools.
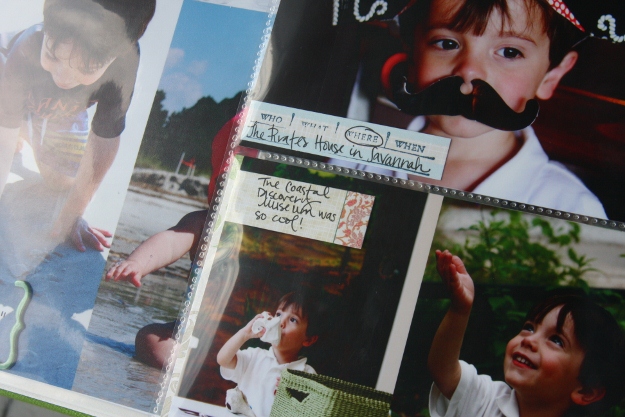
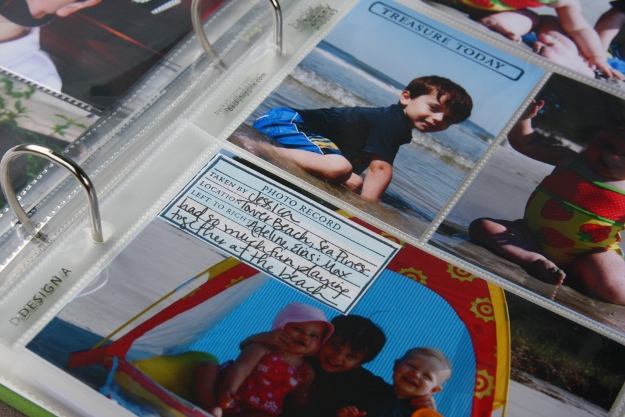
I then trimmed the spots and put them on the photos – easy peasy – and I LOVE how they look.
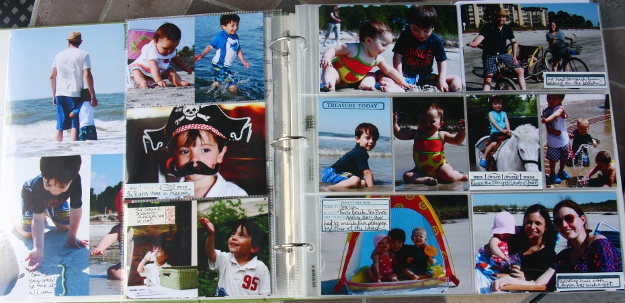
You can see a lot of these journaling spots on the final spread
I actually stamped right on the photo of Elias – “treasure today”. I used StazOn ink for everything because it is very permanent and is my favorite. You can get it at any craft store.
Your turn! Please remember to link your specific post and to include a link to The Mom Creative.


You’re right….I do LOVE this week!!! That’s neat that you were able to bust out of using the Cobalt kit for this occasion and it worked so well. Love the journaling stickers you made! I assume those stamps came with that vacation set you received, right?
Really impressed with the 12×12 photo your printer created. I’m jealous…..
🙂
No the stamps were from my stash! I have had them for years… I think they are Autumn Leaves
I have the same printer Jessica and it’s amazing, huh? Your photos are beautiful and I love how you made your little label stickers. Gonna need to dig out my Xyron now. 🙂
I love your beach themed pages!!!
And my Xyron is one of my favorite crafting tools. I have the 9″ creative station and I love it!!
Love your layouts, Jess! That printer is amazing!
Love that 12×12 photo! Also the 6×12 journal insert is super awesome. I have a xyron 5″ too and LOVE it!
Wow – what a great idea to make your own journalling stickers! Very effective, and totally personal!
Great layouts from your vacation! You have become a really awesome photographer! It’s evident that this is one vacation that will always be remembered.
Looks like y’all had a great trip! I love the Xyron idea. I need to dig mine up from my stash of stuff and dust it off and use it more!
Wow!! You really captured the essence of the vacation, Jessica! Such a fun layout! Love your creativity with the stamps too! 🙂
Argh! I wish I could print out at 12×12. I just got a new printer last year and forgot to think of that. Your album turned out great this week. thanks for sharing your stamping/sticker ideas. I always remember how you ink your edges from Elias’s baby book. it fascinated me for years…
That is a truely fabulous family photo, I love it blown up to 12X12!
Love it Jessica! I love the stamp on the picture and the 12X12 is so pretty! I think it’s perfect just the way it is with nothing on it:) Looks great. You said you started another album is your first already pretty full!? That’s impressive!!
I love the giant family photo! It looks amazing.
Your family picture is stunning and full of such joy. What a blessing indeed. Really enjoyed your pages this week and thanks for reminding me about my Xyron that I need to dust off.
As always, thanks for hosting this link up. It’s always such a fun time to check out all of the inspiration.
This is just awesome. I love that you do this. I really want to get into this but I don’t think that I can because it’s soo much money.