DIY Tutorial: New Year’s Time Capsule + How to Make Decoupage Paste
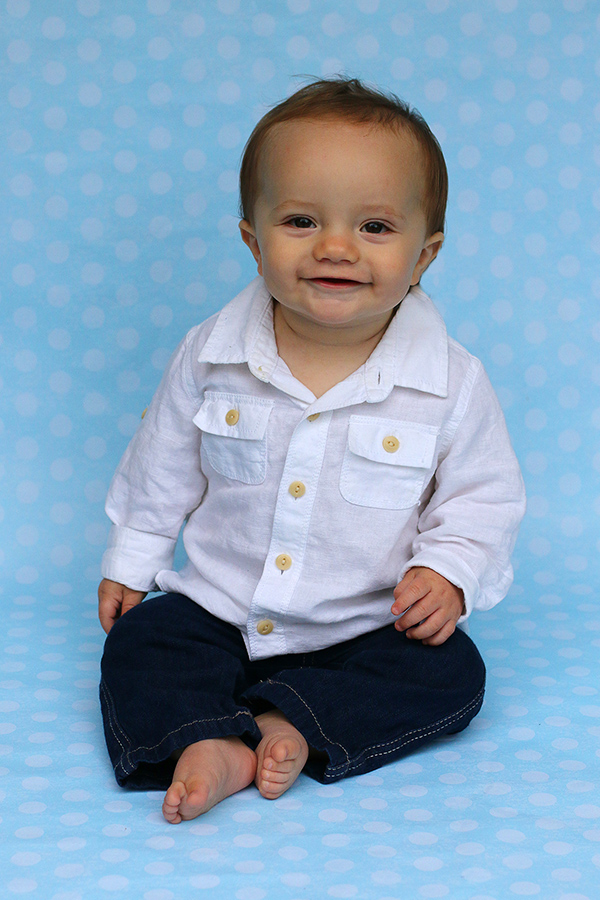
Ezra turns one on New Year’s Eve, so along with planning for Christmas, I am working on planning his Twinkle, Twinkle Little Star first birthday party. Because his birthday falls on New Year’s Eve, I thought it would be fun to create a New Year’s time capsule box.
In addition to filling the New Year’s time capsule with memorabilia from the year, I plan to have everyone at the party write a note to him. Then I will store it away (probably under my bed) and let it gather dust until he turns 21. I imagine a 21st birthday on New Year’s Eve will be quite the celebration and I hope this sweet gift will make it even more special.
Of course, you don’t need to have a baby turning one to make a New Year’s time capsule. It’s a fun craft and activity to do any year. Here are the simple steps to make your time capsule — as well as how to make decoupage paste out of Elmer’s glue (who graciously sponsored this post).
Supplies Needed
- 2 bottles of Elmer’s School Glue
- Water
- Empty jar
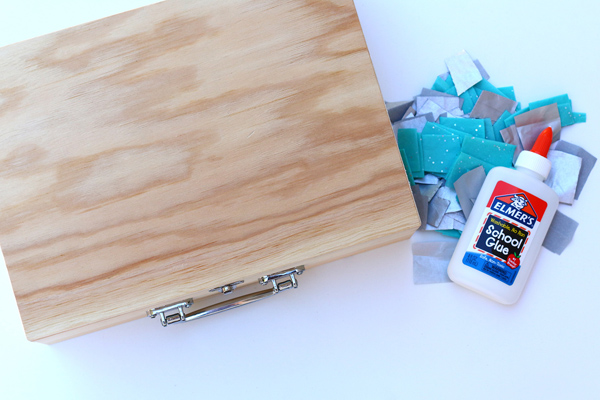
- Wood box
- Tissue paper (2-3 sheets)
- Scissors
- Foam brush
- Wood accents (optional)
- Glitter (optional)
To Make the Decoupage Paste
To make the decoupage paste, mix ¾ cup Elmer’s glue with ¼ cup water in a resealable jar.
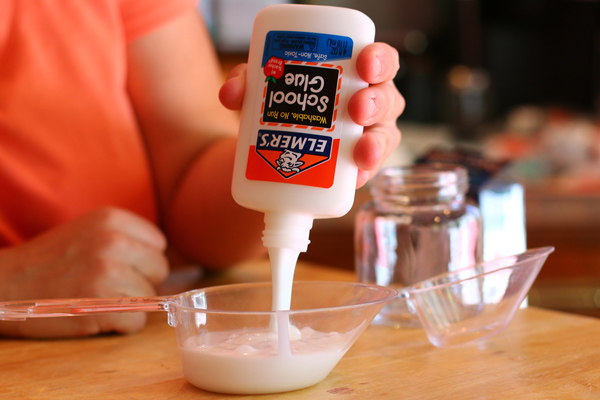
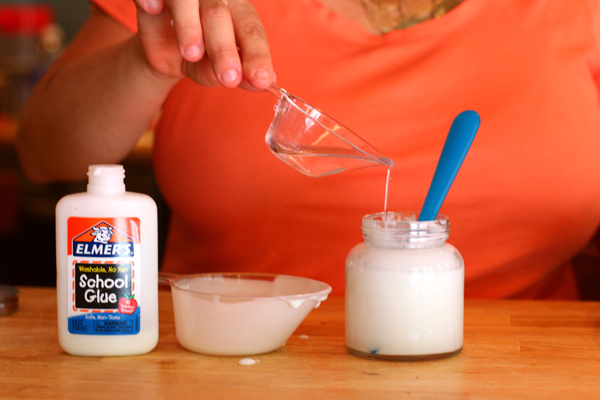
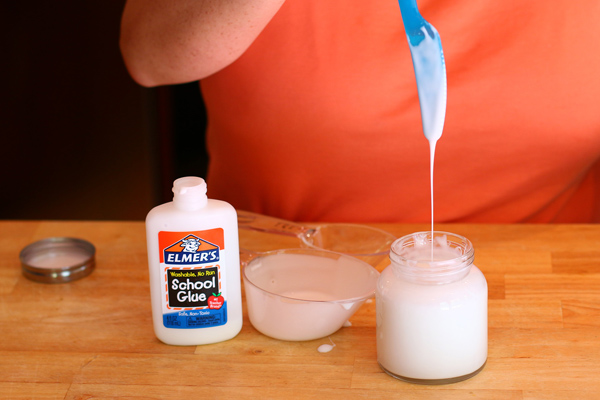
Tip: Pour some water, then some glue, stir, then some more water, then some more glue, etc. to make sure the consistency is right.
To Make Time Capsule Box
For your time capsule decoupage box, cut tissue paper in small squares. Get creative. Use two or more different colors of tissue paper to add to the effect.
If you don’t plan to decoupage the whole box, paint the unfinished wood.
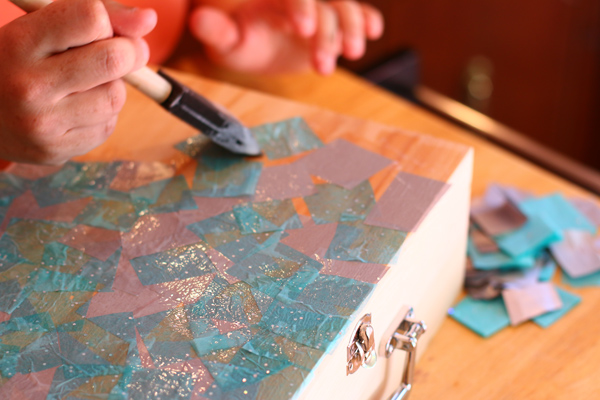
Use a foam brush to spread a thin layer of the decoupage mixture on your time capsule box, then add the tissue paper squares. Work in sections, slowing painting on more glue. Coat the tissue paper in a thin layer to seal it. (I used about 2 sheets of tissue paper on the top of my box)
Once dry, use Elmer’s Extreme Glue to add any extra wood elements on to your box.
Then spread another layer of decoupage mixture to the box and add some glitter to make it extra special and pretty.

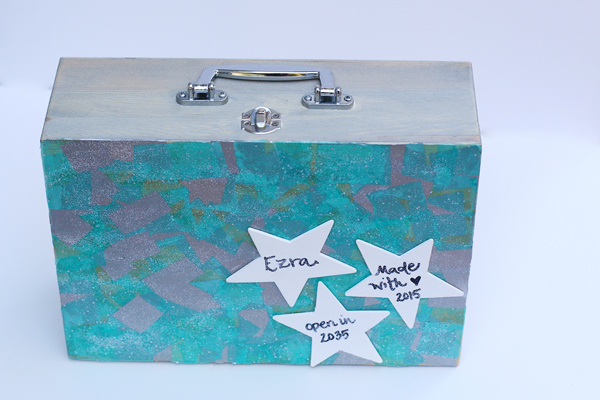
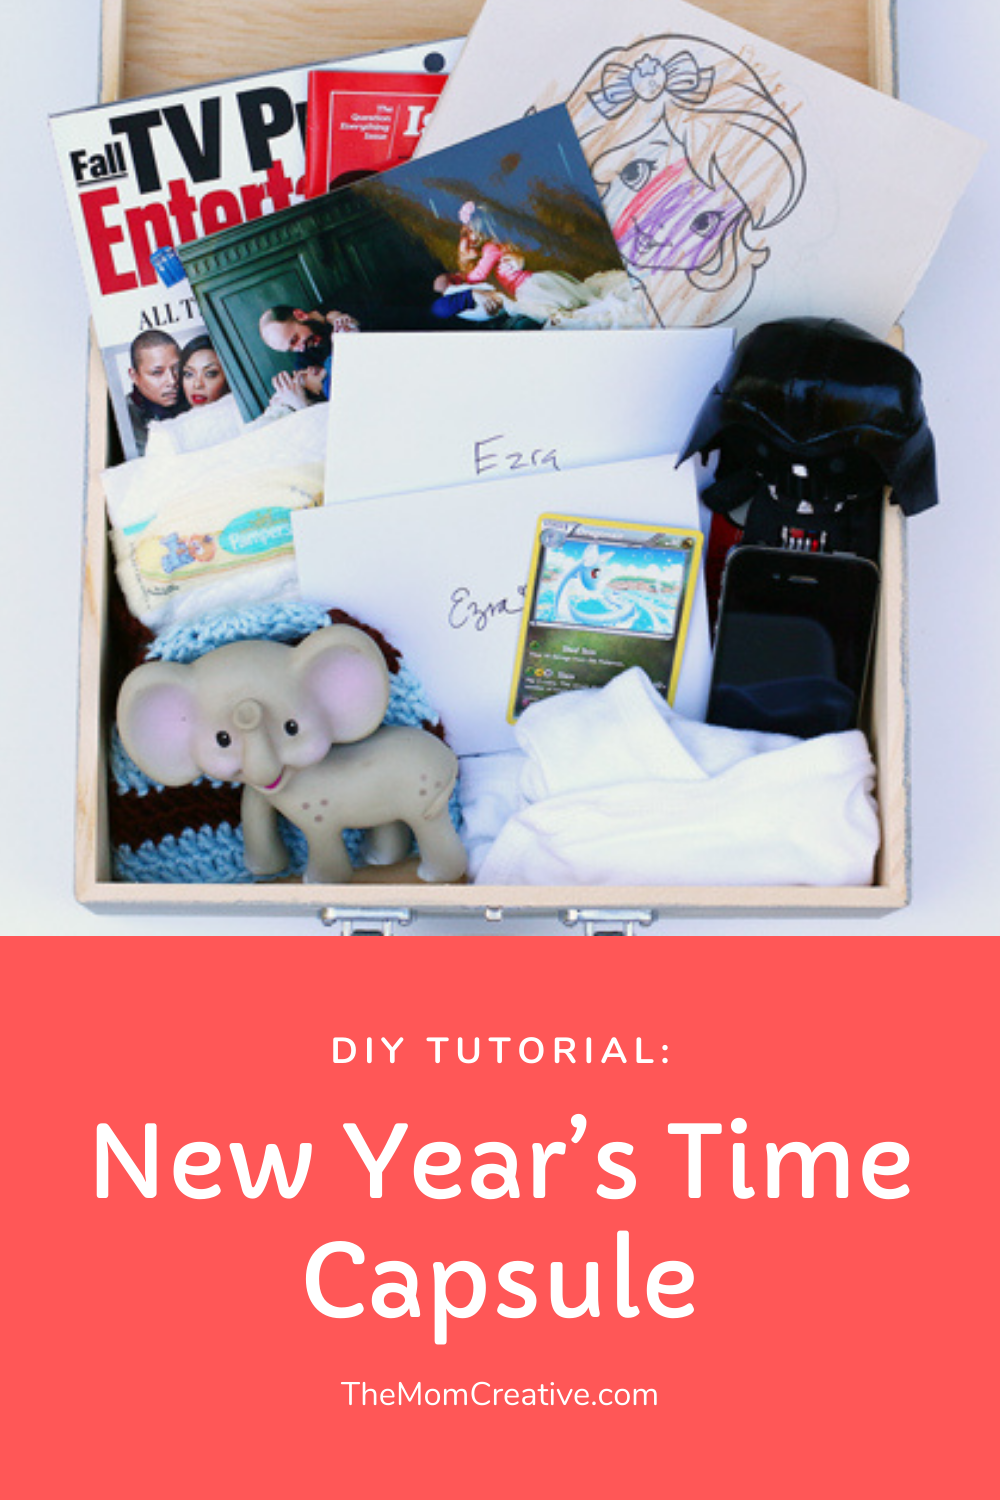
Fill your New Year’s time capsule box with items to memorialize the year.
Since my box was for Ezra’s first year, I filled the box with a mixture of baby items (first onesie, favorite toy, first hat) and things that mark the year and pop culture (magazines, an old phone, a Star Wars Itty Bitty toy, Pokemon cards), and personal family items (a photo, picture that our daughter colored, letters from Mom and Dad).
When he opens this box on his 21st birthday, it will surely bring up lots of stories and fun memories!
I hope this inspires you to make your own New Year’s time capsule box!
For more holiday DIY inspiration, sign up for Elmer’s Parents Club to receive their free Elmer’s Handmade Holiday ebook. If you are active in social media, use the hashtag #ElmersHandmadeHoliday to share crafts made from the book or your favorite holiday projects/traditions/memories.
This post was sponsored by Elmer’s. All crafting ideas are my own.
This is such an AWESOME idea, Jess! LOVE it.
I love this craft idea and best wishes to Ezra for the happiest 1st Birthday!
Oh my gosh – I LOVE this. I’ve always been fascinated by timecapsules – what a perfect idea for the kids – such a treasure.
This is so sweet. Love this idea so much.
This is such a lovely way to bond with your kids and in the end you get to create a something you will always treasure!
Time capsules are the best. I did one with my son Jonathan, starting when he was a baby. When he turned 18, we had so much fun going thru it. He passed away 3 years ago when his apartment caught fire – I now treasure that time capsule more than ever. I pull it out when I want to feel extra close to him.
Diane, I’m so sorry about the loss of your son. I can’t imagine the grief. Peace be with you this holiday season.